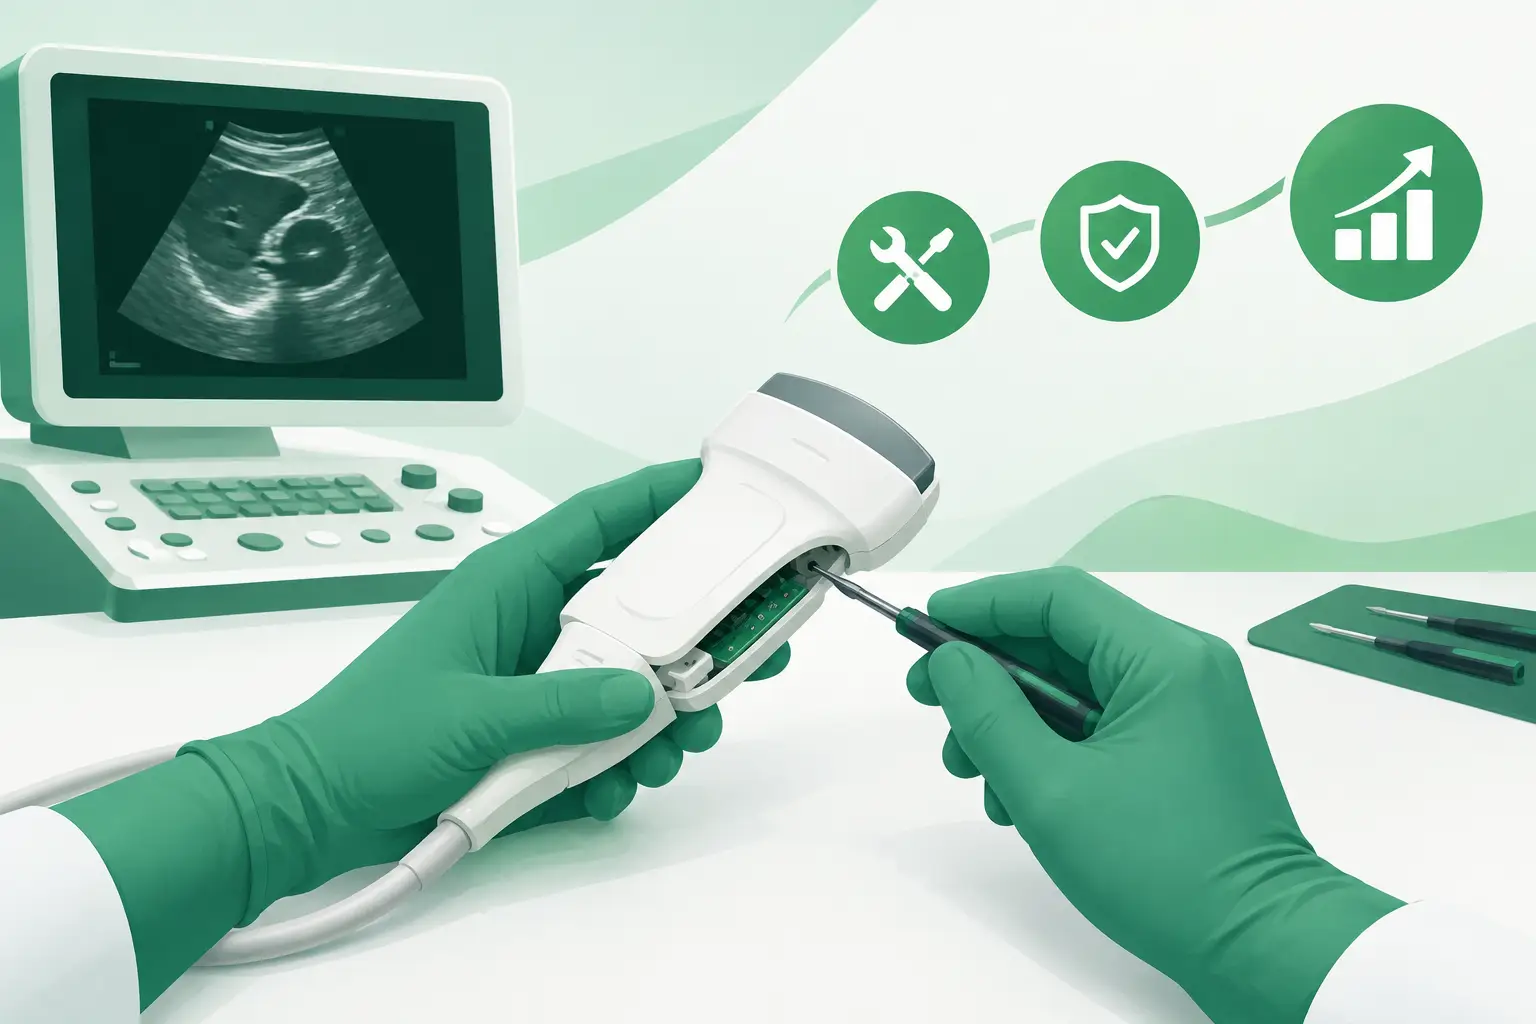
A GE LOGIQ E9 that powers on normally but produces intermittent dropouts, dead elements, unstable color flow, or a persistent probe-recognition fault can put the transducer at the center of the troubleshooting process. This diagnostic imaging parts authentication guide focuses on verifying a replacement ultrasound probe before it is ordered and installed. For a high-value imaging system, authentication is not paperwork. It is the process of confirming that the physical component, its identifiers, its condition, and its system compatibility all match the repair need.
A probe can look correct in a listing photo and still be the wrong revision, have an altered label, carry hidden cable damage, or fail to initialize on the intended console. That distinction matters when a room is down and the clinical team needs a reliable path back to scanning.
Start With the Failure, Not the Replacement Listing
Authentication begins before sourcing. The technician should first establish whether the GE LOGIQ E9 probe is actually the likely fault domain. A poor image does not automatically mean the transducer has failed. The console, probe port, beamformer path, software configuration, cable connection, and exam preset can all influence what appears on screen.
A probe-related failure often follows the probe. If the artifact, dropout, or recognition problem appears only when one specific transducer is connected, while a known-good compatible probe operates normally on the same port, suspicion moves toward the original probe. If multiple probes show the same behavior, investigate the console-side path before ordering a replacement.
Common symptoms that justify closer probe evaluation include inconsistent element dropout across the image, a dark or missing region that remains tied to the same probe, intermittent loss of identification when the cable is moved, and visible damage at the lens, strain relief, cable, connector, or housing. A probe that is recognized but produces degraded images may have a different failure mode than one the system cannot identify at all. Treat those as separate diagnostic paths.
Do not use a replacement part to bypass basic isolation. A rushed order can create a second problem: a valid probe that is incompatible with the system configuration, then misidentified as defective when it does not behave as expected.
Diagnostic Imaging Parts Authentication for a LOGIQ E9 Probe
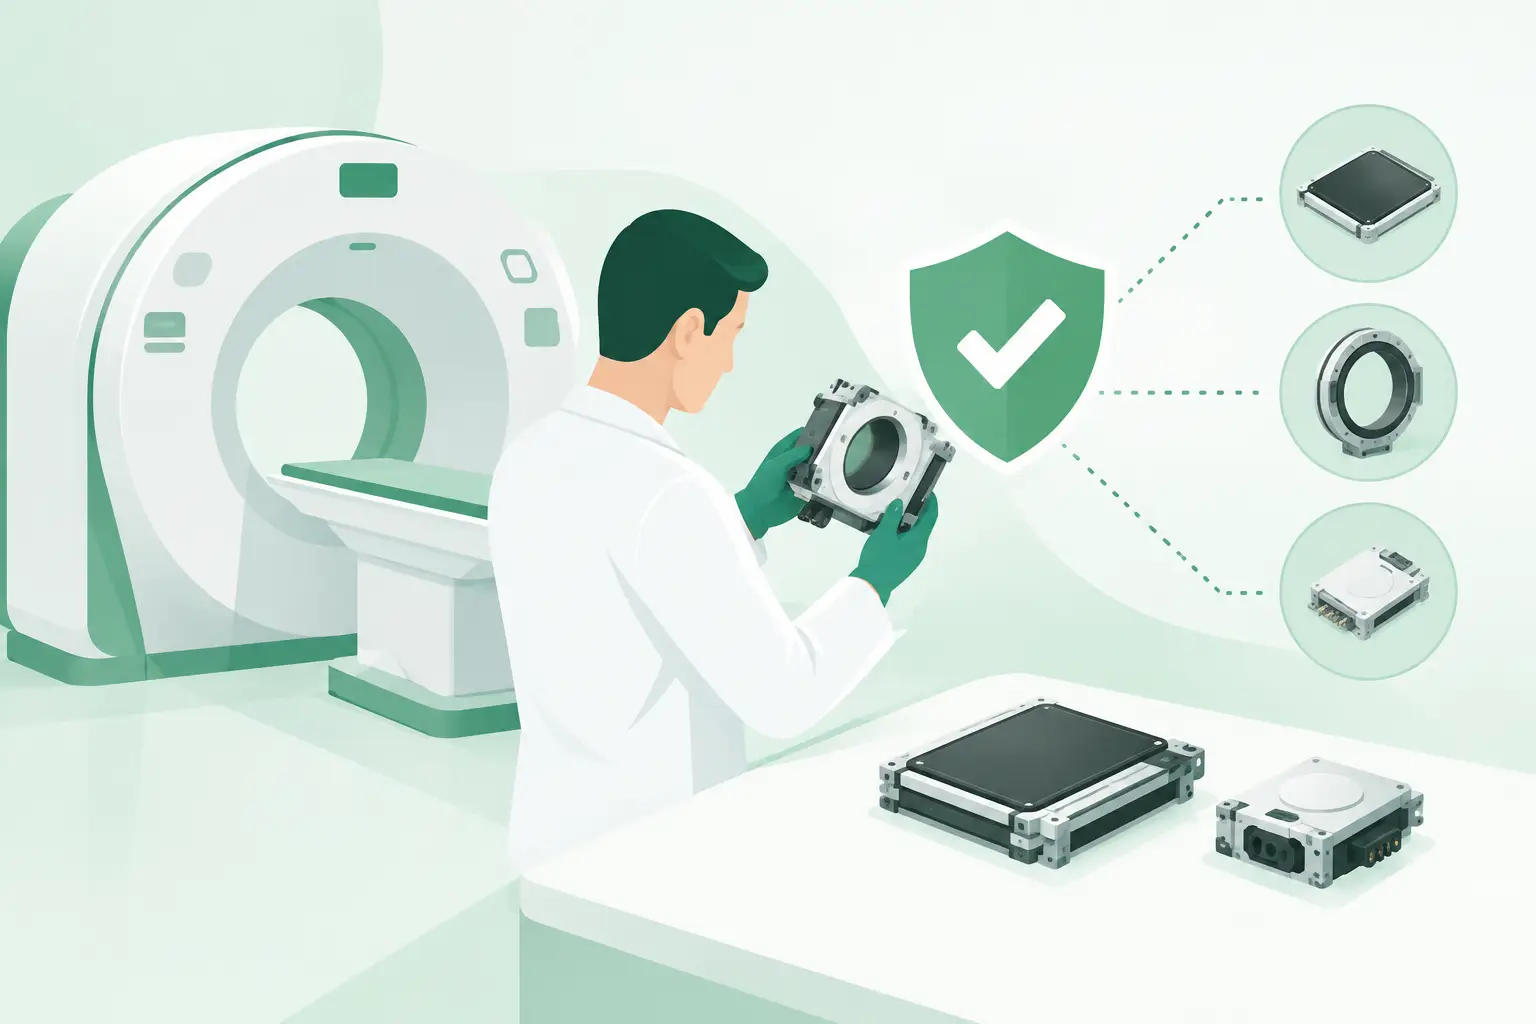
For a replacement probe, authentication should happen at three levels: identity, compatibility, and condition. Each answers a different question. Identity asks whether the item is what the seller represents. Compatibility asks whether it is approved for the specific system configuration. Condition asks whether it is likely to return the system to dependable service.
Confirm the OEM part number first
The OEM part number is the primary control point. Record the part number from the existing probe label where it remains legible, then compare it with the identifier on the replacement unit and the supplier's quotation. Do not rely on a broad probe family name alone. Product names, application names, and even connector appearance can be shared across variants that are not interchangeable.
If the original label is unreadable or the probe is missing, use the system documentation, service records, prior purchase history, and the console's recognized probe information to build the identification record. The exact evidence available will vary by installation. When there is any uncertainty, confirm the OEM part number with Meditegic before ordering.
The full part number matters more than a shortened reference, an internal seller SKU, or a description such as “for LOGIQ.” A supplier inventory code can help locate stock, but it does not replace the OEM identifier needed to validate the match.
Match the system revision and configuration
A GE LOGIQ E9 nameplate does not, by itself, establish compatibility. System revision, software level, installed options, and probe support can affect whether a given transducer will initialize and perform as intended. The replacement must be checked against the actual console, not only the modality and manufacturer.
Provide the system model, serial information where appropriate, software details available to the service team, and the precise OEM probe part number. Also state the observed failure behavior. A probe sought because of a recognition error should be reviewed differently from one sought because of an image-quality artifact after a confirmed element failure.
This is where an exact-match sourcing process has real value. Compatibility should be verified before shipment, not assumed after the probe reaches the site. If the applicable revision cannot be confirmed from the available records, pause the order until the OEM part number and system details are reconciled.
Inspect labels, connector, and physical construction
A genuine-looking label is one evidence point, not final proof. Review clear, current photographs of the actual unit whenever possible. The label should be present and readable enough to compare the manufacturer marking, OEM part number, serial or traceability details if available, and stated model designation against the quotation.
Check that the connector geometry, keying, latch points, cable routing, strain relief, probe housing, and scan head shape correspond to the required unit. Small differences can signal a different variant. The connector should not show bent, recessed, damaged, contaminated, or missing contacts. The cable should be inspected for cuts, crushing, hardened sections, exposed shielding, unsupported repairs, or deformation near the strain relief.
The acoustic lens also deserves close attention. Tears, punctures, delamination, swelling, severe abrasions, or evidence of adhesive repair can affect image quality and service life. Cosmetic wear may be acceptable depending on its location and severity. A compromised lens, connector, or cable is not a cosmetic issue.
Distinguish Authentication From Functional Verification
A part can be authentic and still not be serviceable. Conversely, a probe can produce an image but still be the wrong part number or revision for the intended system. Authentication and functional verification should therefore be documented separately.
Before installation, ask what inspection and testing were completed and whether the offered unit is used, refurbished, or select brand-new inventory. The answer should be specific to that item, not a general statement about the seller's process. For a used or refurbished probe, condition assessment should address the physical areas that commonly drive field failures: the connector, cable, strain relief, housing, lens, and imaging performance.
After installation, a qualified service professional should verify that the console recognizes the probe, that the expected clinical presets are available where applicable, and that image behavior is stable across an appropriate test workflow. Compare results against a known-good probe when practical. This is not simply a power-on check. A probe may initialize normally yet reveal dropout, noise, inconsistent uniformity, or intermittent behavior only during scanning.
Avoid making a final judgment from one short image observation. Repeatable testing under controlled conditions is more useful than an isolated scan. If symptoms persist with a confirmed replacement probe, return to the console-side troubleshooting path rather than assuming the newly installed component is at fault.
Documentation That Prevents a Wrong-Part Order
The most efficient orders start with a compact technical record. Include the OEM part number requested, GE LOGIQ E9 system identification, available revision or software details, probe type, the exact failure symptom, and photographs of the existing unit's label and connector when available. If the original probe has a visible defect, include that too.
This record helps distinguish “same family” from “same part.” It also gives the sourcing team enough detail to flag a mismatch before it becomes a return, a delayed repair, or another period of downtime.
For hard-to-find imaging components, provenance should be treated as an operational requirement. Ask whether the supplier can identify the actual part offered, confirm its OEM identifier, and document the condition represented in the quote. Be cautious with listings that provide only stock photography, a broad compatibility claim, or an incomplete part number. Those gaps do not always indicate a bad component, but they do mean the identity has not yet been fully established.
Repair or Replace: Make the Decision on Evidence
Repair may be appropriate when the issue is limited and the probe can be evaluated by a qualified ultrasound transducer repair provider. Replacement is often the more direct path when the probe has severe cable damage, an unreliable connector, lens damage, repeated failures, or a confirmed internal performance problem that does not justify repair.
The decision depends on the probe's condition, the availability of a verified replacement, the urgency of restoring scanning capacity, and the service plan for the system. For an older platform, a repair decision should also account for whether the same failure could recur from an aging cable or connector assembly. Choosing the least expensive immediate action is not always the lowest-risk uptime decision.
When a verified replacement is the right path, request a quote with the OEM part number, system details, and failure description. Meditegic can use its network of 600+ suppliers and 500,000+ part numbers to help locate the exact GE LOGIQ E9 probe match, including difficult-to-source imaging spares, while the technical details are confirmed before the order proceeds.