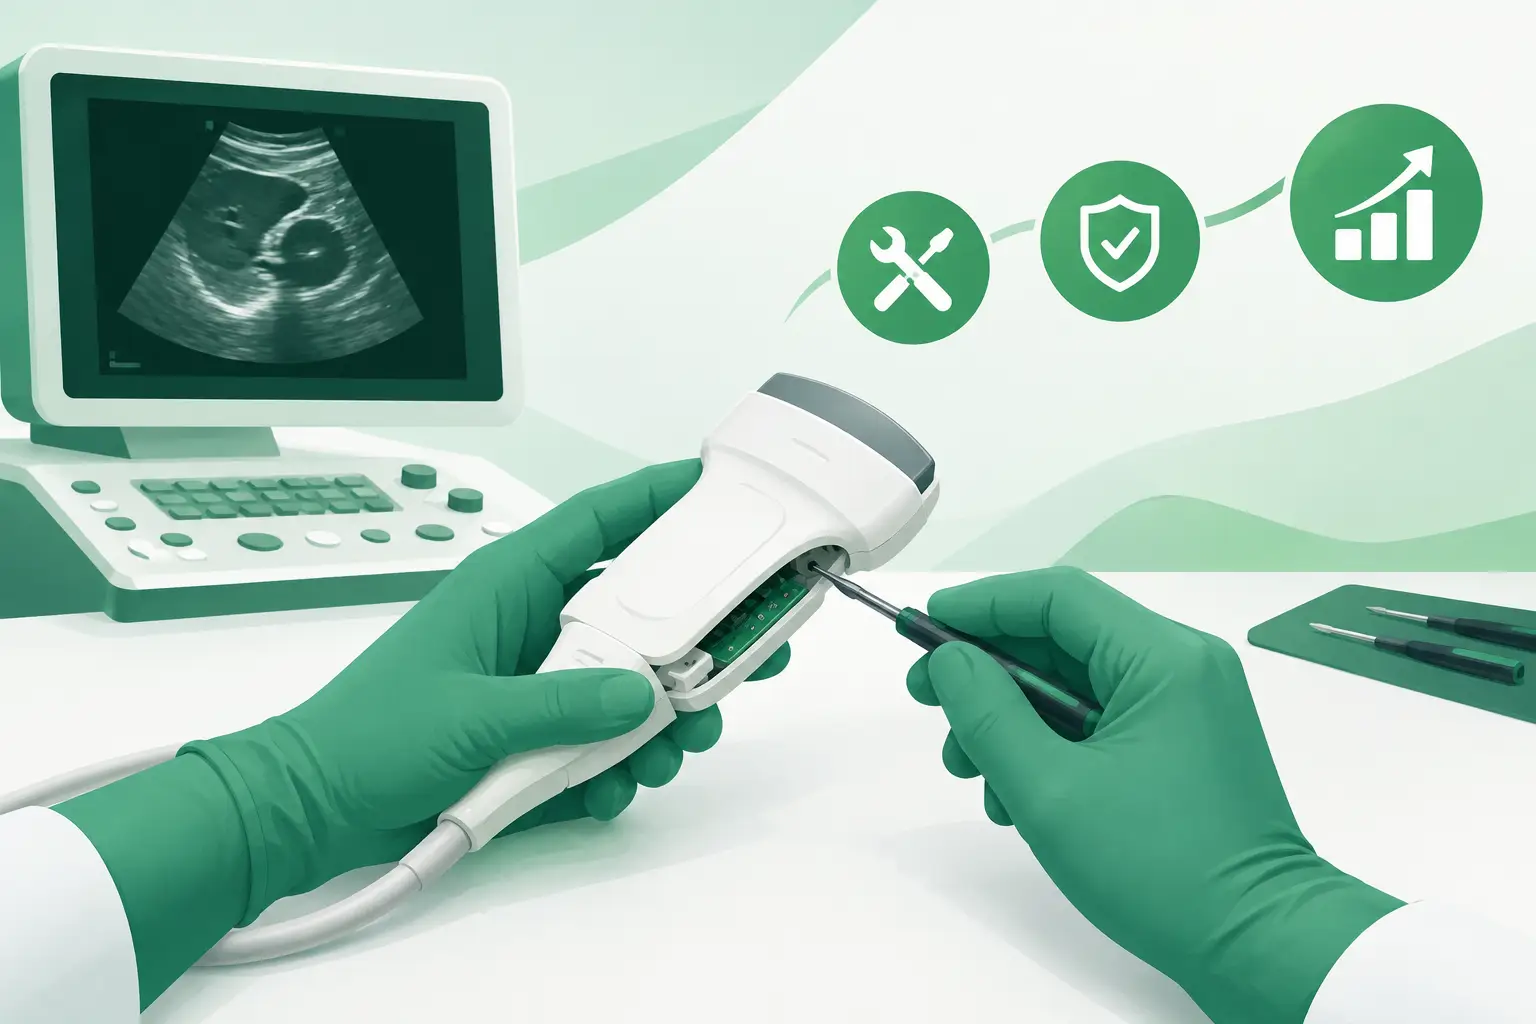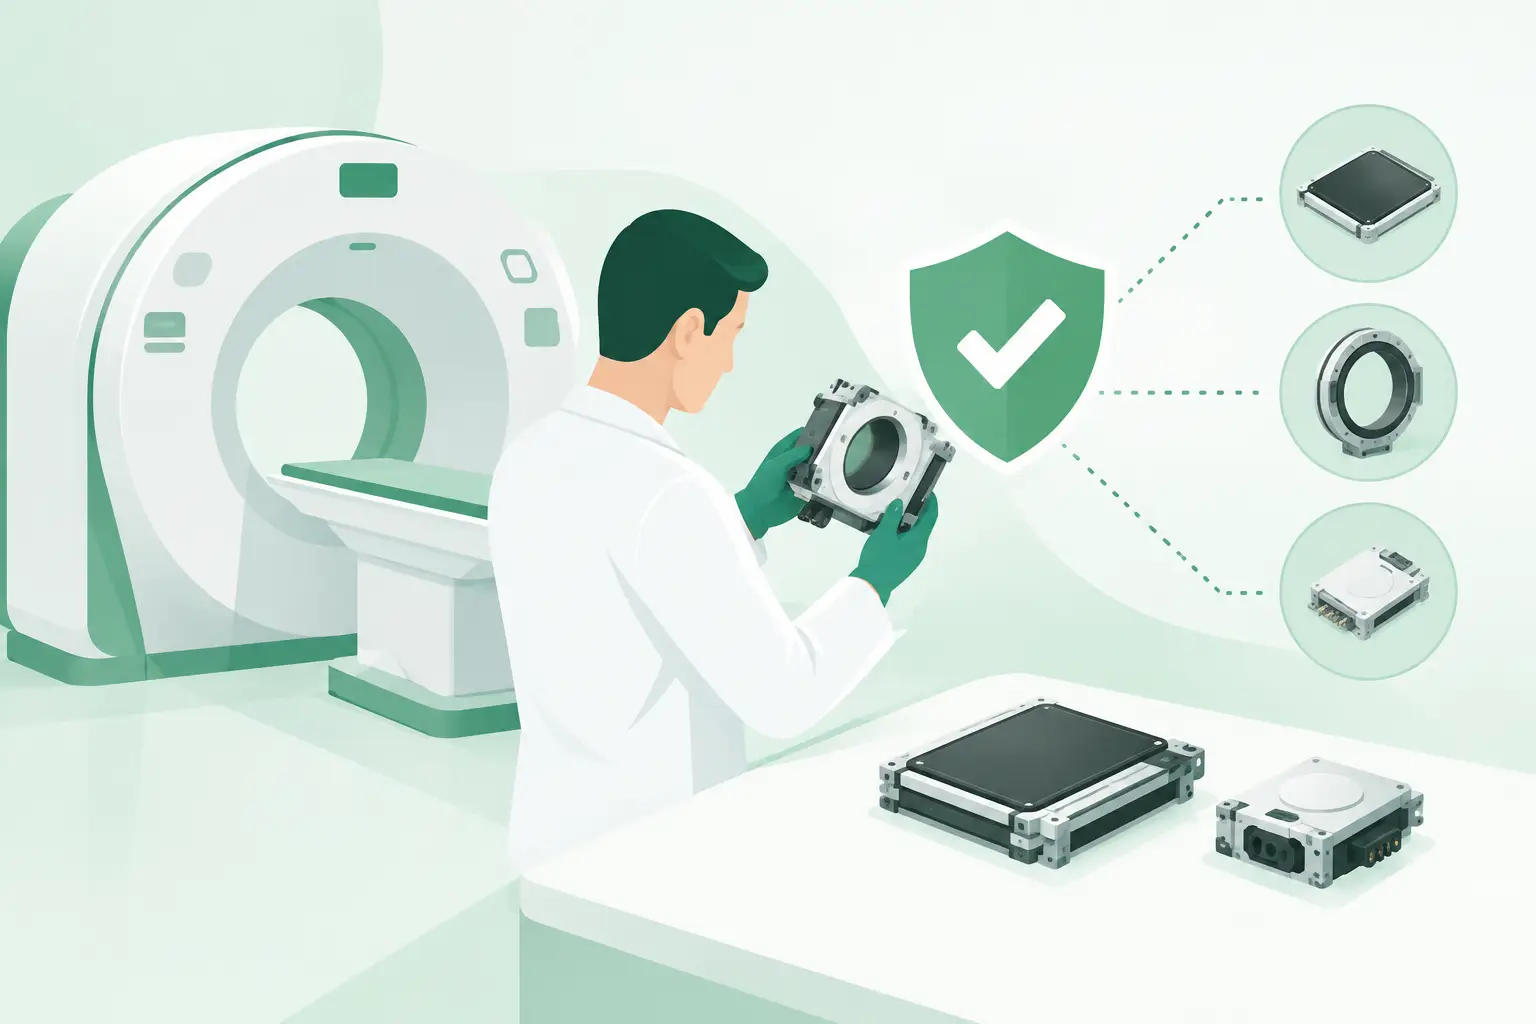
A failed transducer can idle an otherwise functional ultrasound unit, disrupt scheduled exams, and force a service team into a rushed sourcing decision. An ultrasound probe refurbishment review should determine more than whether a probe powers on. It should establish what failed, what was repaired or replaced, whether the transducer is an exact system match, and what evidence supports its return to clinical use.
For biomedical departments, ISOs, and imaging service providers, the right decision depends on the probe type, failure mode, remaining system life, and the quality of documentation available from the repair source. A refurbished probe can be a practical route to restoring uptime, particularly for older GE, Philips, Siemens, Canon/Toshiba, Hitachi, Samsung/Medison, Mindray, or Esaote platforms. The value is only as good as the repair scope and verification behind it.
What Probe Refurbishment Should Actually Include
Refurbishment is often used broadly, but it can describe very different levels of work. A cosmetic cleanup, a cable replacement, a lens repair, and a complete acoustic stack repair are not equivalent services. Technical buyers should ask for a clear description of the condition found and the work completed.
A meaningful refurbishment process begins with incoming inspection. The technician should assess the probe housing, strain relief, cable jacket, connector pins, lens, seal integrity, and evidence of fluid ingress. Internal evaluation should address element performance, backing material condition, acoustic array damage, and electrical continuity. A transducer may look clean externally while retaining intermittent element dropout or noise that appears only in certain modes.
The repair scope should correspond to the defect. A damaged cable may require cable and strain-relief work while leaving the array intact. A cracked lens requires more than surface dressing if the damage affects the acoustic path or creates a cleaning and disinfection concern. If multiple elements are weak or dead, the repairer should state whether the array was repaired, replaced, or whether the probe was determined unsuitable for reliable restoration.
Review the Repair Record Before Reviewing the Price
Price matters, but a low quote without repair detail creates uncertainty for the service team that must install and support the probe. Request the model number, OEM part number when available, serial number, reported failure, completed repair actions, and final test results. These details reduce the risk of receiving a probe that is physically similar but electrically or software-incompatible.
The repair record should also identify replaced components. Depending on the probe, these may include the cable assembly, connector, lens, housing, strain relief, acoustic array components, or internal circuitry. If the repair involved an equivalent component rather than an OEM component, that should be disclosed. Equivalent parts are not automatically a problem, but they should be evaluated against the transducer's intended use, performance requirements, and the buyer's internal acceptance procedures.
Do not accept vague descriptions such as serviced, tested, or fully functional as the entire technical record. Those terms may be accurate, but they do not reveal what was evaluated. A more useful statement identifies the imaging modes tested, whether element testing was performed, and whether the probe was checked on a compatible system.
Confirm Exact System and Application Compatibility
Probe compatibility is more specific than matching a connector shape. The same probe family may have different revisions, part numbers, pin configurations, software requirements, or approved applications across ultrasound platforms. A probe that connects to the system but is not recognized correctly can still cause avoidable downtime.
Start with the scanner model, software version if relevant, probe model, and OEM part number. Then verify the clinical application needed: abdominal, vascular, cardiac, endocavitary, small-parts, musculoskeletal, or other specialty imaging. Frequency range and array geometry must support the required exam types. A compatible curved-array probe, for example, may not be an acceptable substitute for a phased-array cardiac transducer even when both are available for the same console family.
For legacy equipment, part-number-level sourcing becomes especially important. Product names are often reused across generations, while the correct replacement may depend on a revision suffix or connector variant. Meditegic supports this type of exact-match search by cross-referencing diagnostic imaging spare parts at the OEM part-number level, which helps service teams avoid a near-match that cannot be deployed.
What Testing Evidence Should a Buyer Request?
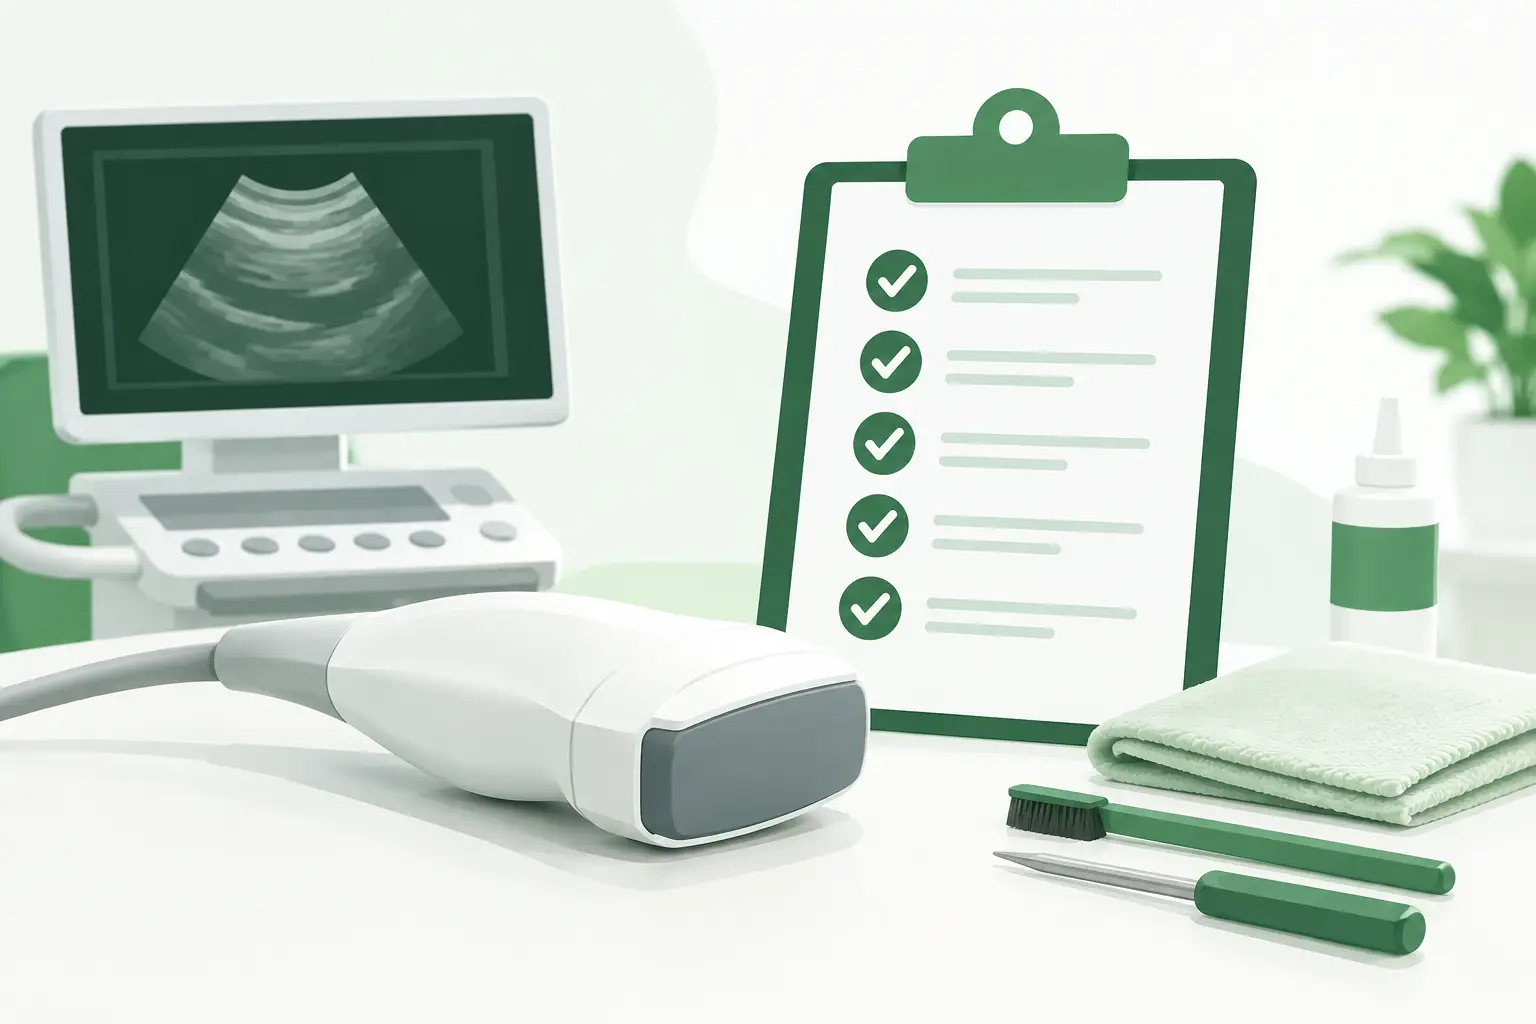
A credible ultrasound probe refurbishment review should include evidence that speaks to image quality and operational reliability. The appropriate test set varies by probe type, but the buyer should understand what the reported results mean.
Element testing is one of the most useful indicators for array integrity. It can identify weak, open, shorted, or nonresponsive elements that may create vertical dropout, shadowing, reduced sensitivity, or inconsistent uniformity. A simple image displayed on a scanner is not always enough to identify early or intermittent array faults.
The probe should also be tested for electrical continuity and connector function. Cable flex testing matters because intermittent failures can appear only when the cable is positioned a certain way. A connector that works during a bench check but loses signal when moved is not an acceptable field solution.
Image testing should reflect the transducer's intended modes. Depending on the model, this may include B-mode imaging, color Doppler, power Doppler, spectral Doppler, harmonic imaging, 3D or 4D operation, and biopsy guidance compatibility. Not every probe supports every mode, so the test record should be relevant rather than generic.
If the probe is used in applications involving routine cleaning and disinfection, inspect the lens, seams, housing, and cable junctions carefully. Surface damage can become an infection-control issue as well as a performance issue. The buyer should follow the system manufacturer's instructions and internal procedures for inspection, cleaning, and acceptance before placing any transducer into service.
Evaluate the Trade-Off Between Repair and Replacement
Refurbishment is not automatically the best answer. A repair is generally attractive when the defect is isolated, the transducer remains supported by the facility's workflow, and the repaired unit can be verified through documented testing. It is less attractive when the probe has repeated cable or array failures, has extensive housing damage, or has a history of inconsistent images that cannot be tied to one correctable fault.
The age and strategic importance of the ultrasound platform also matter. For a clinic relying on a legacy system with limited OEM support, a properly refurbished probe or a tested replacement transducer may be the fastest route back to service. For a high-volume department, the operational cost of a second failure may outweigh modest savings on a minimally documented repair.
Turnaround time should be evaluated in the same way. An expedited repair can be valuable, but only if the repair source has the technical capability, parts access, and test process to complete the job correctly. A quick return that fails acceptance testing simply extends downtime.
Questions That Expose Gaps in a Refurbishment Offer
Before approving a refurbished probe, ask the supplier to address four practical points: the exact compatible system and part number; the fault found and repair work completed; the test methods and imaging modes verified; and the warranty terms, exclusions, and return process. These questions are straightforward, but they separate a documented technical solution from an unsupported used-part transaction.
Also clarify whether the supplied unit is the original repaired probe or an exchange replacement. Either arrangement can work, but the distinction affects serial-number tracking, loaner planning, and the facility's asset records. If the probe is a replacement, confirm its condition, testing documentation, and compatibility independently.
A useful refurbishment decision is not based on whether a probe looks new. It is based on whether the specific transducer can perform the required exams reliably on the intended system, with a repair history and test record that let the service team stand behind the installation.