A tube may be the visible failure point, but X-ray tube housings determine whether that tube can operate safely and correctly within the system. When an imaging room is down, treating the housing as a generic enclosure can turn a straightforward repair into a compatibility, calibration, or high-voltage problem. For service teams working on general radiography, mobile X-ray, C-arms, fluoroscopy, or mammography equipment, the replacement decision starts with the exact assembly installed on the system.
What X-ray Tube Housings Do
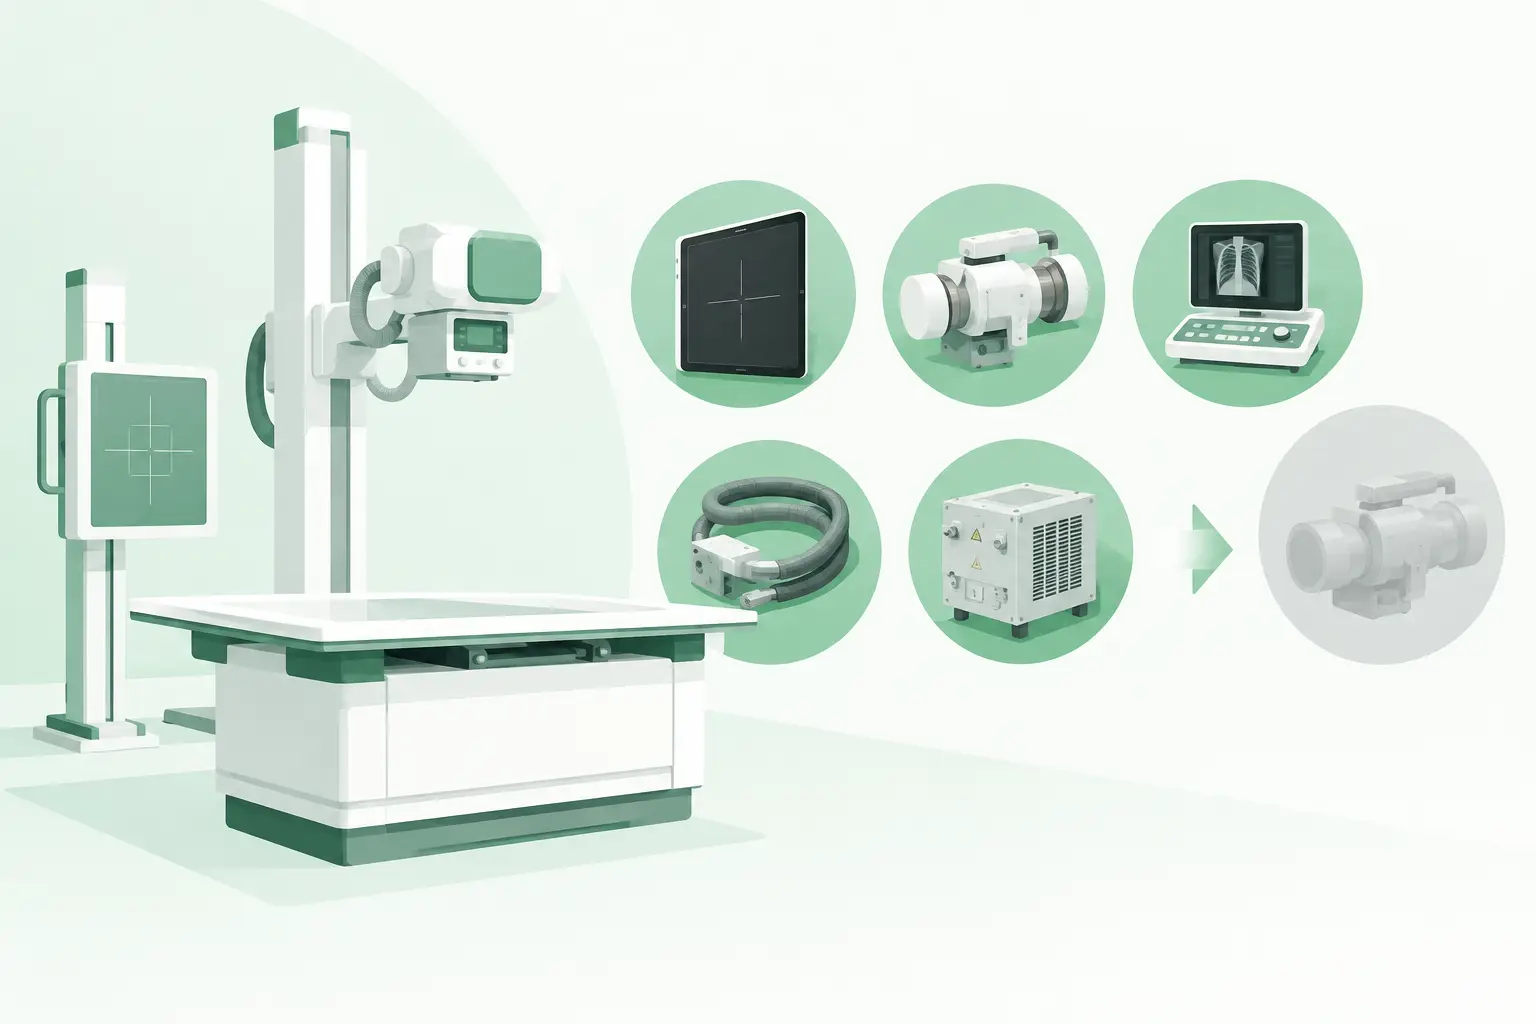
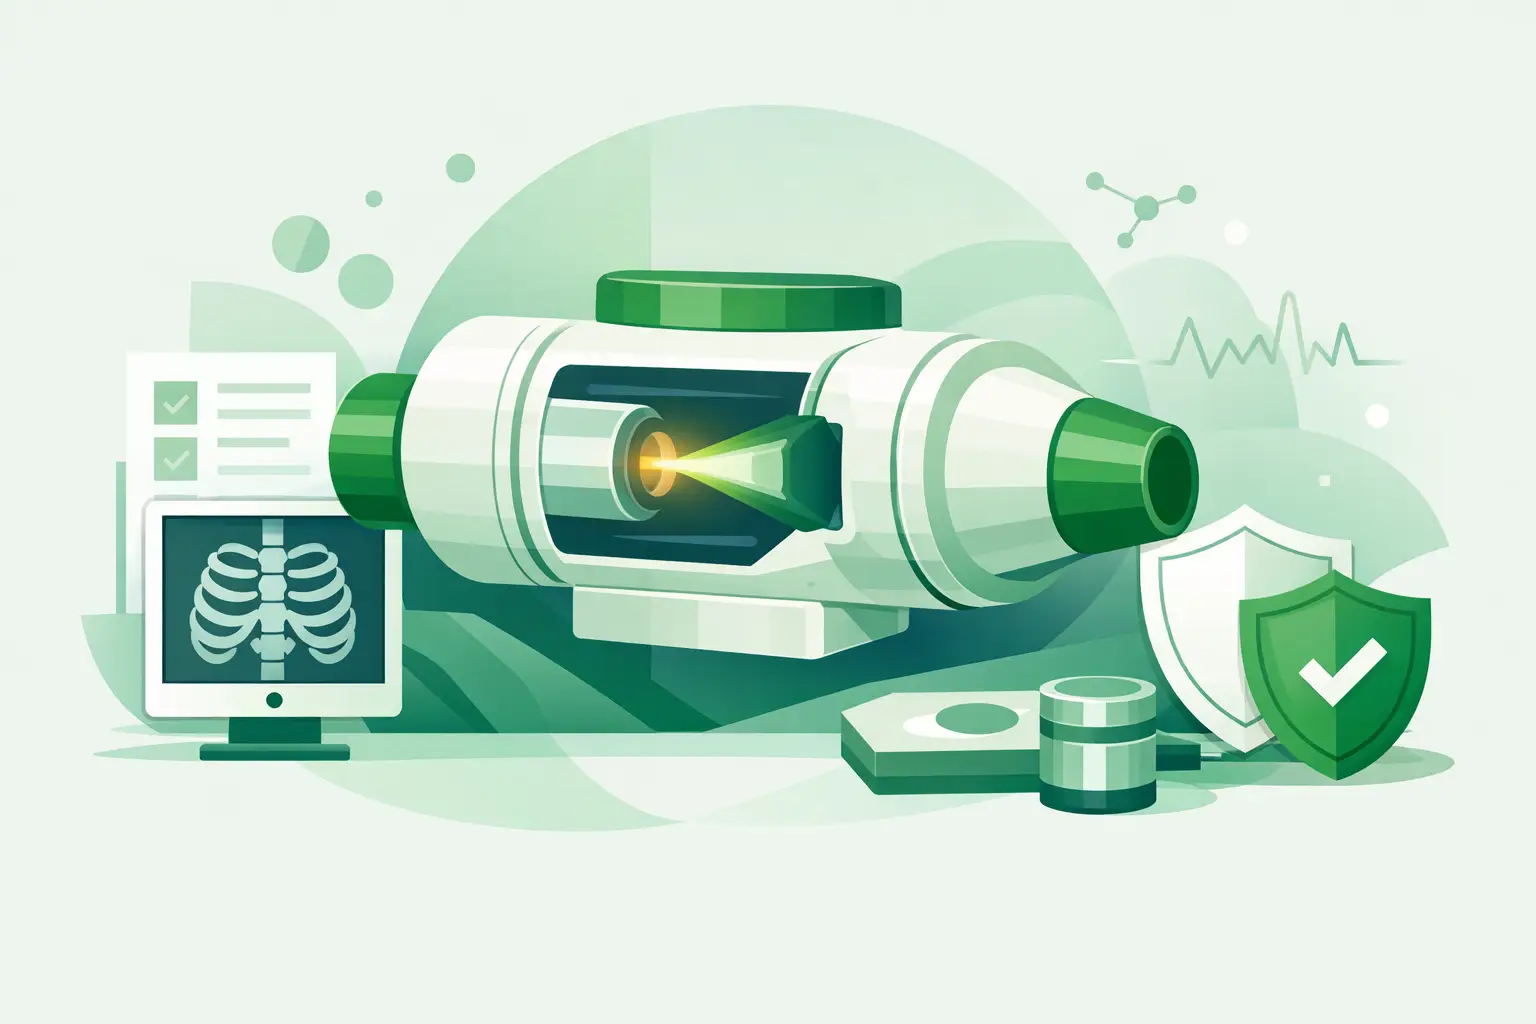
An X-ray tube housing is the protective assembly surrounding the X-ray tube insert. It is engineered to contain the insulating medium, manage high-voltage connections, limit radiation leakage, support mechanical mounting, and interface with the collimator and the rest of the imaging system. Depending on the modality and OEM design, it may also incorporate thermal-management features, ports, sensors, filtration provisions, or system-specific electrical connections.
The tube insert produces X-rays. The housing makes that insert usable in a clinical imaging system. It must tolerate high electrical potential, heat generated during exposures, repeated mechanical motion, and the duty cycle expected from the application. A mobile unit, for example, places different demands on cables, mounting points, and movement than a fixed radiographic room. A C-arm or fluoroscopy assembly introduces its own geometry, cooling, and integration requirements.
For that reason, a housing should not be selected solely by the tube family, nominal kVp range, or physical appearance. Two assemblies can look similar while differing in connector arrangement, anode-cathode cable routing, mounting interfaces, focal-spot configuration, filtration, or software-recognized component identification.
Why Housing Failures Create Complex Downtime
Housing-related problems are not always immediately obvious. A system may report high-voltage faults, intermittent exposure errors, arc-related faults, overheating conditions, or communication issues that point broadly to the tube circuit. In other cases, visible oil leakage, damaged cable receptacles, cracked external surfaces, failed mounting hardware, or a collimator interface issue makes the housing a more direct suspect.
Diagnosis matters because a tube assembly, high-voltage cable, generator component, collimator, or control issue can produce overlapping symptoms. Replacing the wrong component consumes valuable service time and can leave the unit unavailable. Before sourcing a replacement, technicians should confirm the fault through the equipment's service documentation, error history, electrical testing, and visual inspection performed by qualified personnel.
Safety is central to this work. X-ray tube assemblies involve high voltage, radiation-producing equipment, and potentially hazardous insulating oil. Removal, installation, testing, and return to clinical use should follow the OEM service procedure and applicable facility safety requirements. A replacement part does not remove the need for proper system verification, radiation safety checks, and any required calibration.
Exact-Match Identification for X-ray Tube Housings
The most reliable sourcing reference is the OEM part number from the housing label or the system parts documentation. That number should be preserved exactly, including prefixes, suffixes, revision identifiers, and any associated assembly numbers. A missing suffix may represent a meaningful change in cable configuration, mechanical fit, or compatible tube insert.
When the label is damaged, incomplete, or inaccessible, identification should be built from multiple points of evidence. The equipment manufacturer, model, modality, system serial range, existing tube or housing numbers, collimator number, and clear photographs of labels and connectors can all help narrow the search. Measurements and photographs of mounting points are useful when evaluating legacy equipment, but they should support part-number matching rather than replace it.
A practical replacement request includes the current housing part number, system make and model, symptoms, urgency, and whether the requirement is for the housing only or a complete compatible tube assembly. If a technician has identified related damage, such as a compromised high-voltage cable or collimator connection, that should be stated at the beginning. It avoids a situation in which one component is sourced quickly while another required part delays the repair.
Questions to Resolve Before Ordering
The correct assembly depends on more than availability. Technical buyers should establish whether the replacement is compatible with the installed generator and tube configuration, whether it accepts the existing collimator, and whether its mounting and cable interfaces match the system. They should also verify any required service actions after installation, including tube seasoning, calibration, detector alignment, exposure testing, or quality-control checks.
Condition is another meaningful variable. A used or refurbished housing may be appropriate when it has been evaluated for the intended application and represents the correct OEM configuration. The key is clear identification and realistic condition information, not an assumption that every available housing is interchangeable. For end-of-life platforms, an exact used or refurbished assembly can be the most practical route to restoring service continuity when standard channels no longer support the part.
Common Compatibility Mistakes
The first common mistake is matching by equipment family alone. A manufacturer may use different tube housings across revisions, generator options, detector configurations, or regional system variants. “Fits this model family” is not sufficient evidence for a high-voltage imaging component.
The second is sourcing a tube insert and housing independently without confirming that they are approved as a compatible combination. The housing, insert, cables, and generator interface form a system. An otherwise compatible insert may not be suitable for the housing or application in question.
The third is overlooking the parts around the housing. A damaged cable connector, worn suspension interface, failed collimator coupling, or cooling-related issue can compromise the repair. This does not mean every adjacent component should be replaced. It means the service team should inspect the assembly as a connected set of interfaces before placing an urgent order.
Finally, buyers sometimes delay documentation until the shipment arrives. Capturing label photographs, installed orientation, cable routing, collimator position, and mounting details before removal gives the installer a useful reference and reduces uncertainty during reassembly.
Sourcing Legacy and Hard-to-Find Assemblies
The aftermarket is especially valuable when an X-ray platform remains clinically useful but its original parts path has narrowed. Older GE Healthcare, Siemens Healthineers, Philips, Canon/Toshiba, Shimadzu, Fujifilm, Carestream, Hologic, and other OEM systems can remain in service for years, provided the correct replacement components can be identified and obtained.
The challenge is that availability is fragmented. A part may exist in a decommissioned system, a specialized inventory, a refurbishment pipeline, or a supplier network in another region. The buyer needs a sourcing partner that can cross-reference at the part-number level, distinguish close variants, and respond with condition and compatibility details relevant to the repair.
Meditegic supports this type of requirement by sourcing diagnostic imaging spare parts across major modalities and OEM environments, including difficult-to-locate X-ray tube and housing assemblies. For an ISO, biomedical department, or imaging refurbisher, the value is not simply finding an item described as a housing. It is obtaining a credible path to the exact replacement needed to return a specific system to service.
Installation Is Only the Start of Verification
After installation, the system should not be treated as ready merely because it powers on or produces an exposure. Follow the applicable service procedure for electrical checks, mechanical movement, collimator alignment, image quality, exposure consistency, and radiation safety verification. The required process varies by equipment type, but the underlying objective is constant: confirm that the installed assembly performs safely within the system's intended operating parameters.
Keep a record of the removed part number, replacement part number, installation date, fault symptoms, and test results. This information improves future troubleshooting and helps identify recurring stress points such as cable wear, thermal overload, or mounting damage. It also makes the next urgent sourcing request faster and more accurate.
When an X-ray tube housing is needed urgently, the best first step is not a broad search for a similar-looking component. Start with the exact label data, system configuration, and the service findings already in hand. That discipline protects the repair timeline and gives the imaging system its best chance of returning to reliable clinical use.