A scanner can be mechanically sound, clinically useful, and fully integrated into a site’s workflow - until one discontinued board, detector component, power supply, or motion part fails. A disciplined legacy scanner parts lookup turns that failure from an open-ended search into a controlled sourcing request. The objective is not to find something that looks similar. It is to identify an exact, compatible replacement that restores the system without creating a second problem.
For biomedical teams, ISOs, and imaging service professionals, this distinction matters most on end-of-life CT, MRI, nuclear medicine, fluoroscopy, X-ray, mammography, and ultrasound platforms. OEM support may be limited, a part may have undergone several revisions, and listings may use inconsistent descriptions. Part-number-level verification is the practical starting point.
Why legacy scanner parts lookup requires more than a model name
A system model name is useful, but it is rarely enough to establish compatibility. A single scanner family may have different gantry configurations, software generations, detector options, voltage requirements, table assemblies, or regional variants. An MRI platform may use multiple RF coil interfaces over its lifecycle. A CT system may carry a different detector module or high-voltage tank based on configuration and production date.
A search for “Siemens CT board” or “GE ultrasound probe” can return many plausible results. That does not mean the item is a valid replacement. The correct lookup begins with the OEM part number, including every prefix, suffix, dash, and revision code. Those details often distinguish an interchangeable component from one that will not initialize, communicate correctly, fit physically, or meet system calibration requirements.
For legacy equipment, labels can also be incomplete or damaged. In that case, service documentation, error logs, photos of connectors and identification labels, and the system serial number become more valuable. The more accurately the failed item is identified before sourcing begins, the less time is lost reviewing unsuitable alternatives.
The information that produces an accurate match
A technically complete request gives a sourcing specialist enough context to cross-reference inventory and supplier records without guessing. At minimum, provide the scanner manufacturer, modality, complete system model, and OEM part number from the failed component.
The best requests also include the part revision, serial number where available, and a clear description of the failure. A photograph of the full label and connector side can resolve issues that a typed number cannot. For boards, note the board number printed on the PCB as well as any assembly number on the label. For transducers, include the probe model and connector type. For mechanical parts, measurements, mounting orientation, and photos of the attachment points can prevent an otherwise avoidable mismatch.
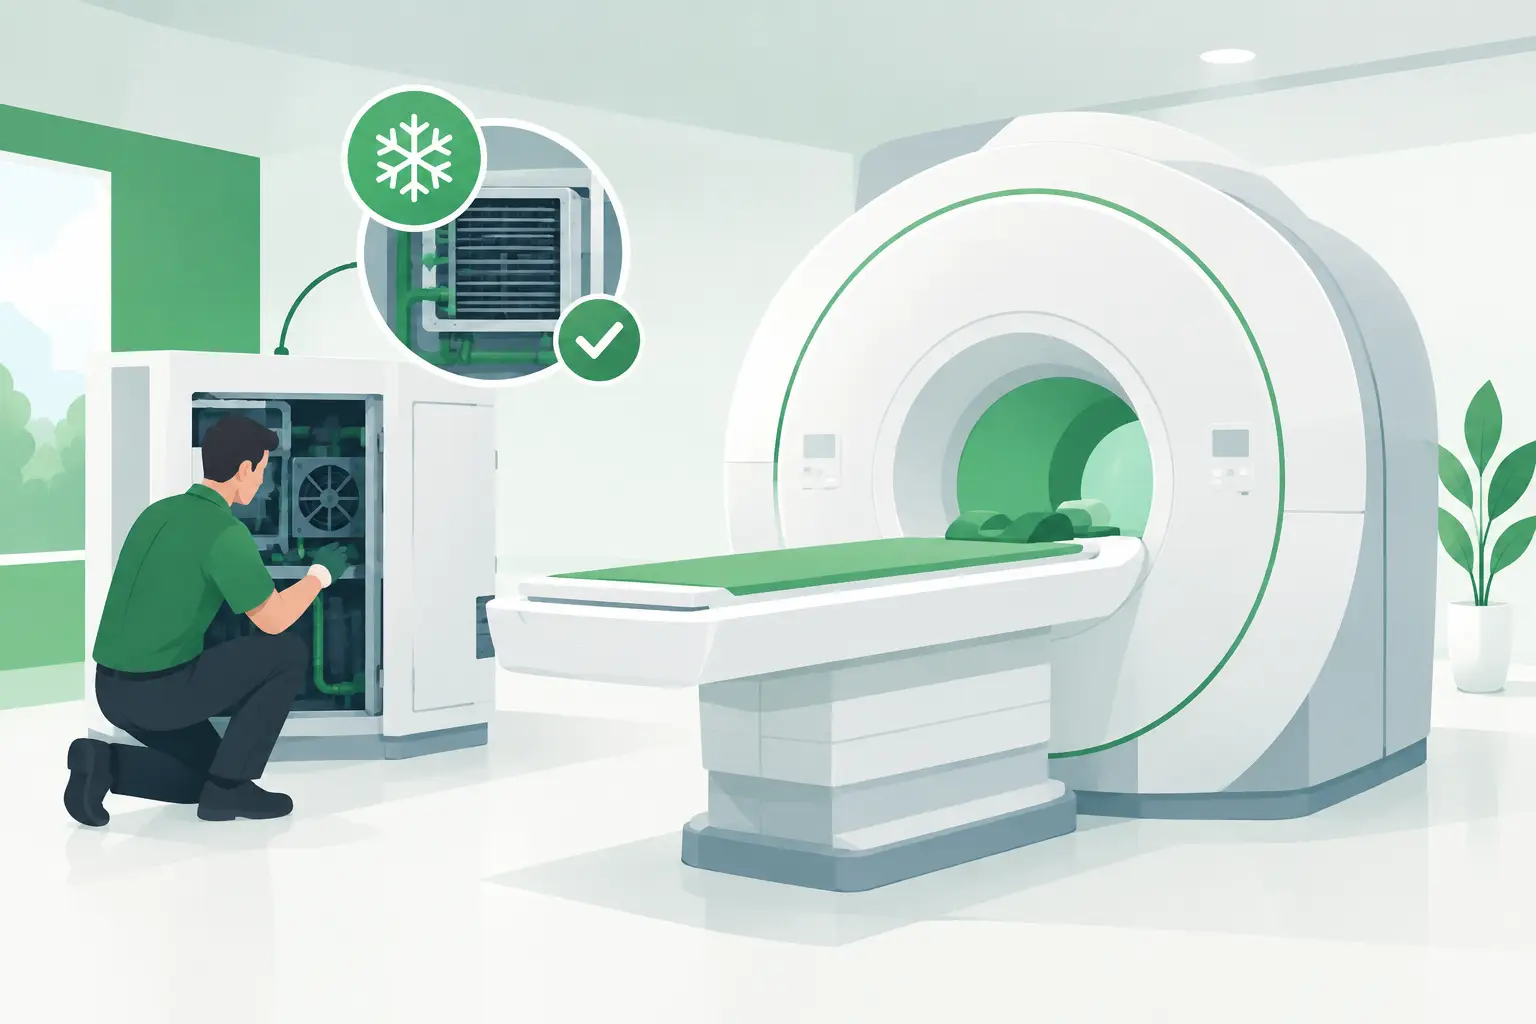
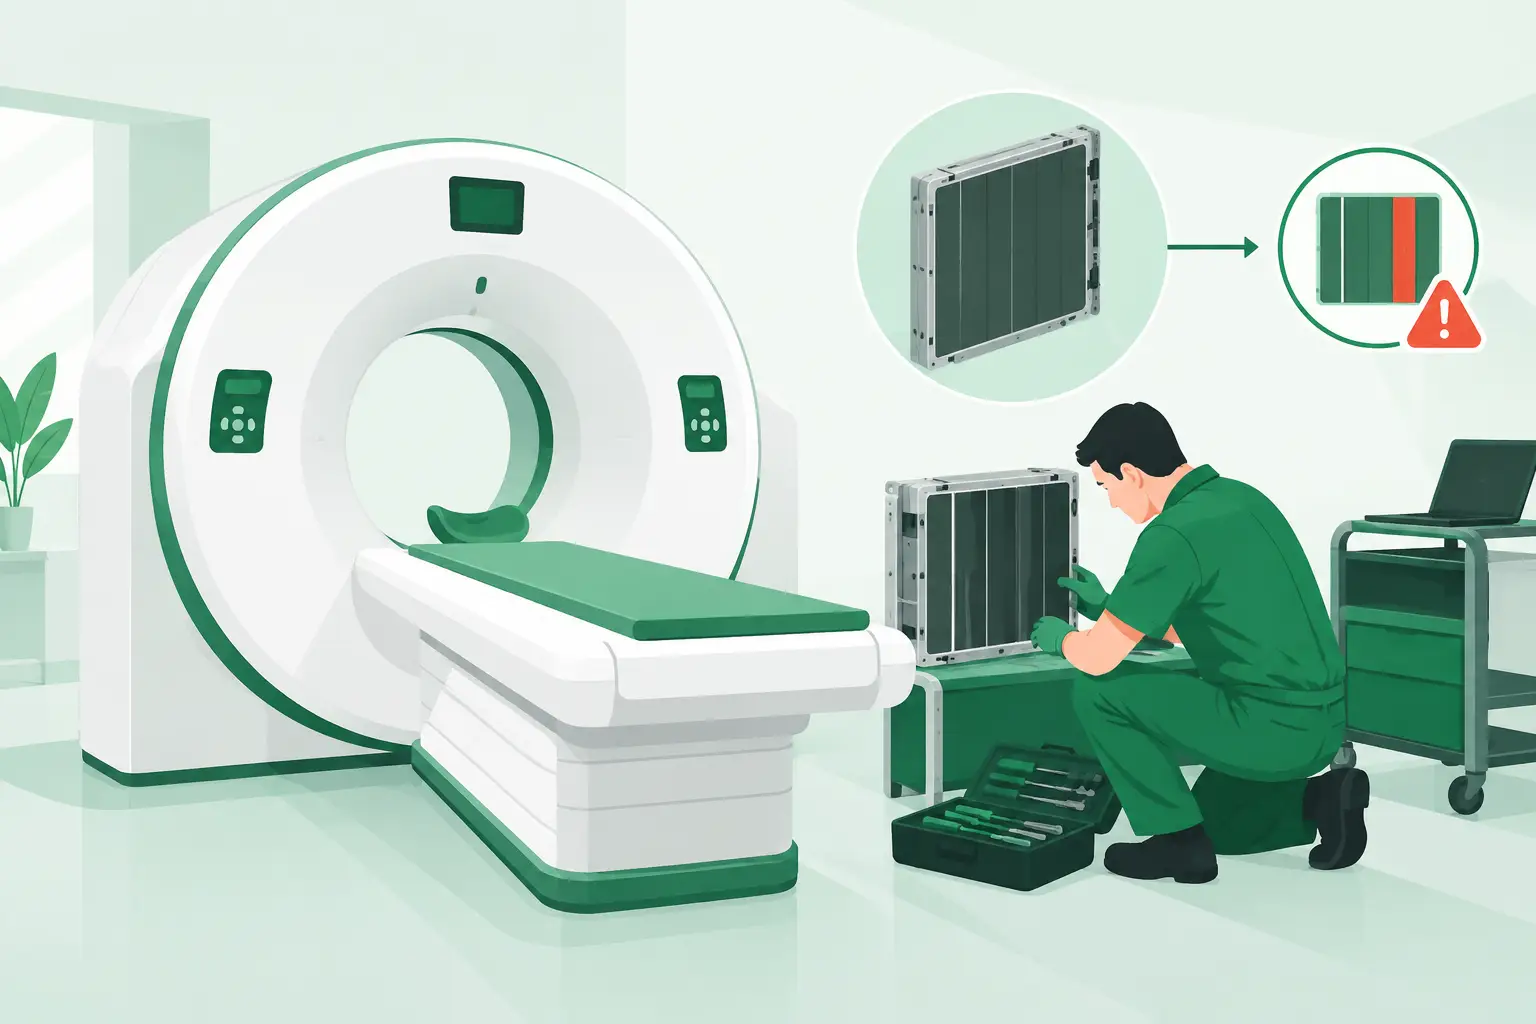
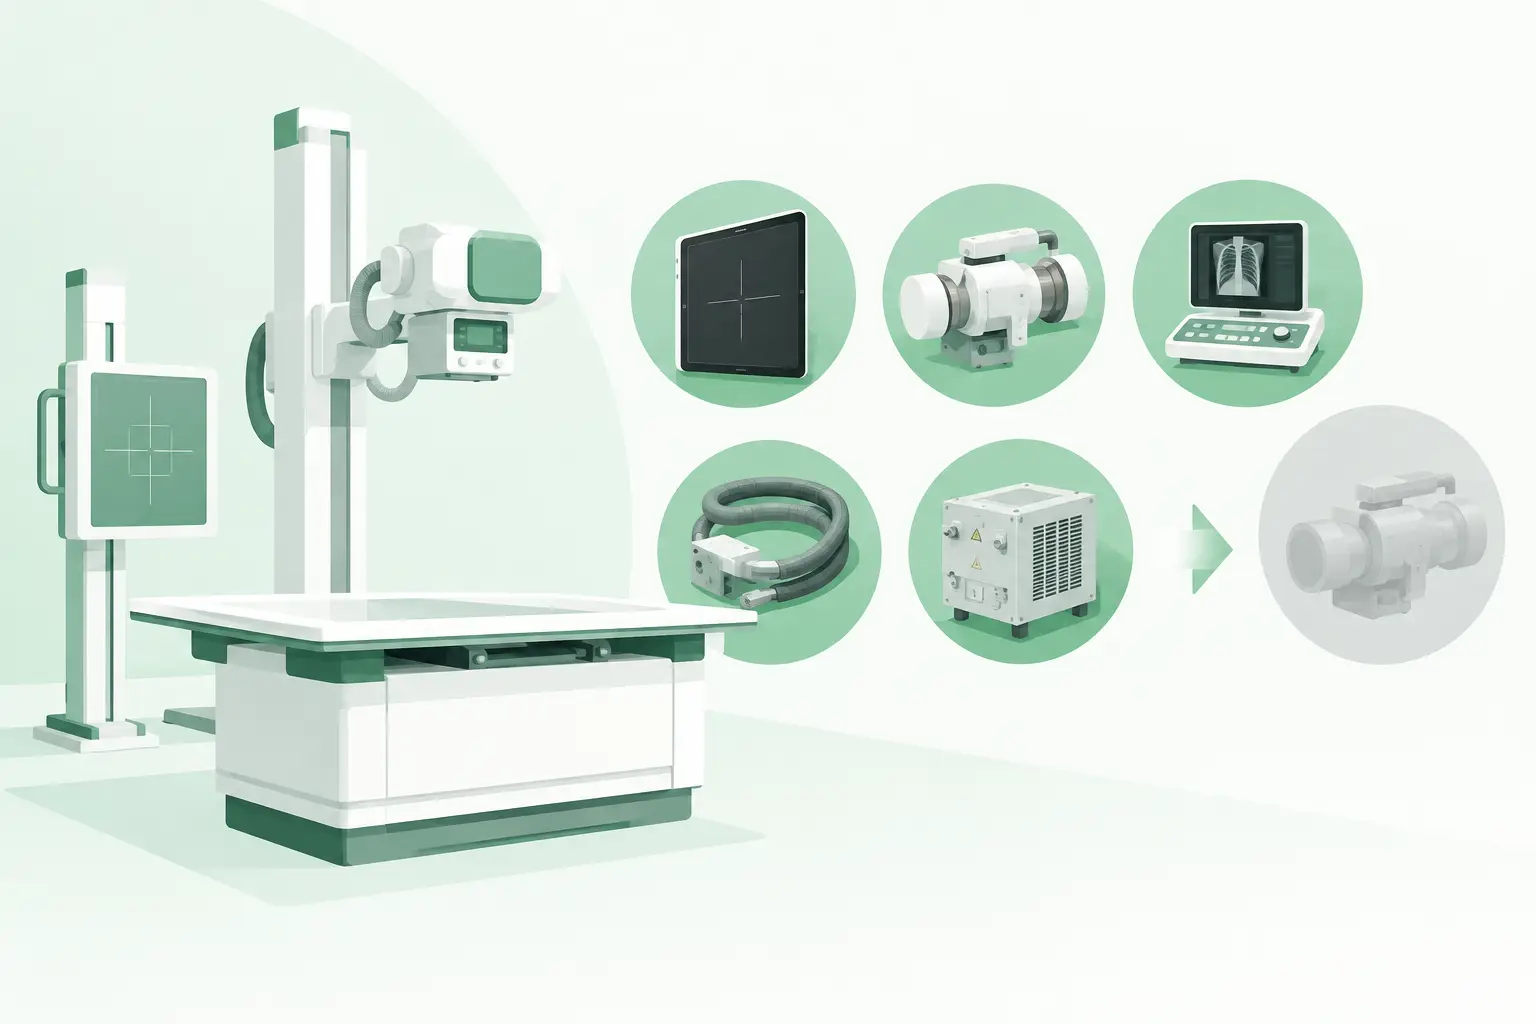
This level of detail is especially important for components such as image intensifiers, flat-panel detectors, X-ray tube housings, collimators, MRI gradient-related assemblies, cooling modules, gantry electronics, and console workstations. These are not generic parts categories. Their compatibility can depend on hardware revision, interface, firmware generation, or the specific subsystem in which they operate.
Part number first, cross-reference second
Cross-referencing is necessary when an OEM number has been superseded, abbreviated, or replaced by a service assembly number. It should not be treated as an assumption. A reliable process traces the requested number to verified alternate numbers and confirms the relationship against the scanner configuration.
For example, a seller may describe a power supply as fitting a particular fluoroscopy system, while the label indicates a revision intended for a different cabinet or generator configuration. The part may appear nearly identical, yet the output, connectors, communication protocol, or mounting points may differ. A valid cross-reference explains why the replacement is equivalent, not merely that it came from the same product family.
Check condition against the role of the component
Once the correct part is identified, condition is the next decision. Used, refurbished, and select new spare parts each have a place in legacy imaging support. The appropriate option depends on the component’s function, the urgency of the repair, the available testing history, and the site’s maintenance requirements.
A used cosmetic panel or table trim component may be suitable if it is structurally intact and matches the system. A critical electronic assembly, detector component, or ultrasound transducer may require more documentation of functional testing and condition. Refurbished parts can be appropriate where repair, inspection, or component-level restoration has been performed, but the scope of refurbishment should be understood rather than assumed.
Buyers should ask what was tested, whether the item was removed from a functioning system or evaluated independently, and whether any known defects or cosmetic damage are present. For high-value components, the relevant question is not simply whether the part powers on. It is whether it can perform its intended role within the target system.
Avoid the common lookup failures
The fastest way to extend downtime is to source from an incomplete description. Several mistakes appear repeatedly in legacy scanner repairs.
First, teams may rely on the equipment model alone and skip the component-level number. Second, they may order a part based on a stock photo, even though connector placement or revision labels are not visible. Third, they may accept an alternate number without confirming the system configuration. Finally, a part can be installed before compatibility details, required calibration, or software dependencies have been reviewed.
These errors are understandable under downtime pressure. They are also expensive. A non-matching board can consume engineering hours and delay a repair while the correct part is located. A detector or tube-related component that is not verified for the intended configuration can create a more complicated service event than the original failure.
The practical countermeasure is simple: capture identification data before removal when possible, preserve the failed part until the replacement is confirmed, and document every alternate number proposed during sourcing. That record is useful for the immediate repair and for the next failure event on the same platform.
A practical workflow for discontinued imaging parts
Start by confirming the failed assembly rather than diagnosing from an error code alone. Error codes can point to a subsystem, but multiple components may produce similar faults. Once the failed part is identified, record all label information and compare it with service documentation.
Next, separate mandatory specifications from preferred attributes. Mandatory details include the exact part number, revision constraints, modality and system configuration, interface requirements, and physical fit. Preferred attributes may include cosmetic condition, packaging, or a specific production range. This prevents a search from rejecting valid alternatives for minor reasons while protecting against substitutions that cannot work.
Then request verification before shipment. For complex components, confirmation may involve label photos, connector photos, test information, or an explanation of the cross-reference. If the part is a control board, console component, or detector-related assembly, identify any required firmware, setup, calibration, or post-installation testing before it reaches the site.
Finally, plan the receiving and installation process. Confirm that the receiving team can inspect the label against the approved number, that appropriate handling is available for sensitive electronics or heavy assemblies, and that the service team has the documentation and tools needed for commissioning. Fast shipment helps, but preparation is what converts delivery into restored uptime.
When an exact match is not available
There are cases where the original component cannot be found immediately. This is where a broader legacy scanner parts lookup becomes valuable. A qualified supplier can search discontinued inventory, dismantled systems, regional stock, repairable cores, and documented alternate part numbers across multiple OEM environments.
Not every alternative is appropriate. A substitute may require a software change, a mating component, a different cable set, or recalibration. In other cases, an assembly-level replacement may be more realistic than locating a single obsolete subcomponent. The decision should be based on technical compatibility, repair timeline, and the expected remaining service life of the scanner.
Meditegic supports this process by sourcing diagnostic imaging spare parts at the OEM part-number level across legacy and current platforms. For difficult requests, a precise identification package gives the sourcing team the best chance of locating the right component through its global network rather than returning a broad category match.
Build a better record before the next failure
Legacy imaging assets are easier to support when the parts history is captured while the system is operational. Maintain a record of recurring failures, installed replacement numbers, known supersessions, software versions, and service notes for each scanner. Include photos of hard-to-read labels and critical connectors before access becomes difficult.
This record does more than simplify procurement. It helps technicians distinguish between an obsolete number and a true no-longer-available part, shortens approval cycles, and makes emergency sourcing far more accurate. When the next component fails, the best lookup is the one that starts with verified information already in hand.